On this page (7)
If you're looking to apply for WhatsApp Business API, then need an approved Facebook Business Manager account.
This is important because, without an approved Facebook Business Manager account, you can't get complete access to WhatsApp Business API. You'll only be able to send messages to 250 users in one go.
Meanwhile, with an approved Facebook Business Manager account, you can message Unlimited users in one go by upgrading your Broadcast tier.
For all this, you need to first have a Facebook Business Manager account.
In this tutorial, we'll tell you how to create a Facebook Business Manager account.
So, let's get started.

Steps to create a Facebook Business Manager account?
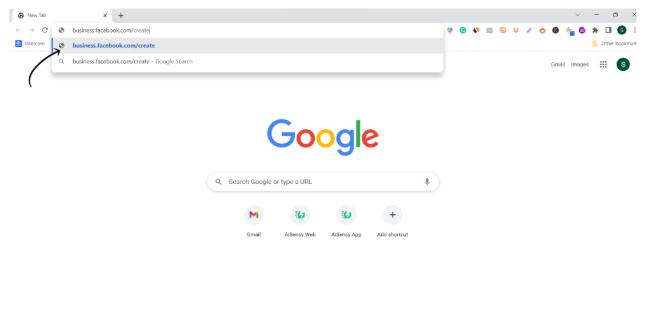
1. Go to the Facebook Business signup page
To create a Facebook Business manager, follow this link - business.facebook.com/create
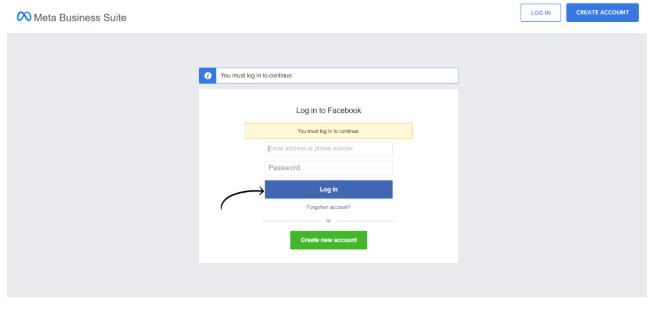
2. Click 'Log in with Facebook'
Next, you'll need to login to your Facebook account. Click the button Log in with Facebook to proceed ahead.

3. Log in to your Facebook account
Enter your Facebook login credentials to log in. Make sure to log in with the account on which you wish to create your Facebook Business manager account.
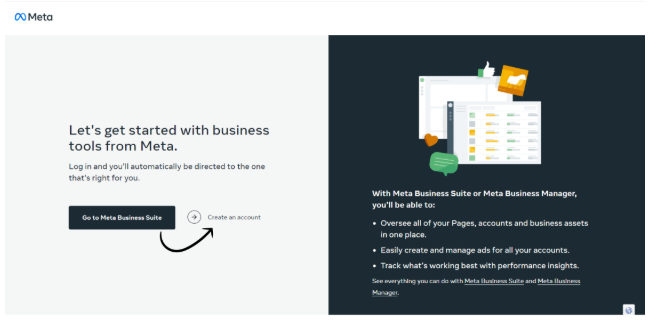
4. Create a Facebook Business account
Next, click Create an account to create your Facebook Business manager account.
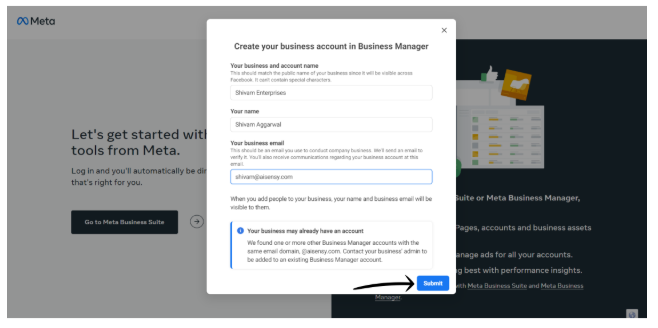
5. Add your Business details & press Submit
Now, add your Business name, your own name & your business email ID on which you wish to receive future communications from Meta.
6. Confirm your email address
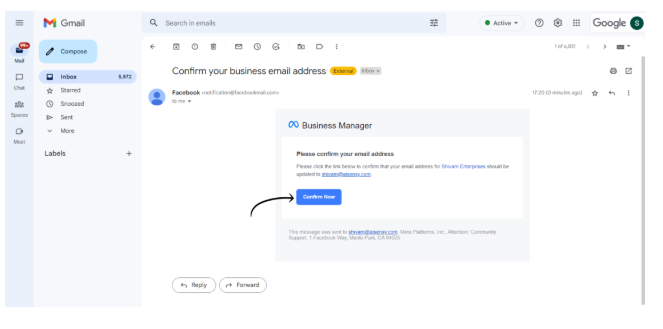
On clicking submit, you'll receive a mail on your registered email ID. Verify your email address by clicking Confirm Now.
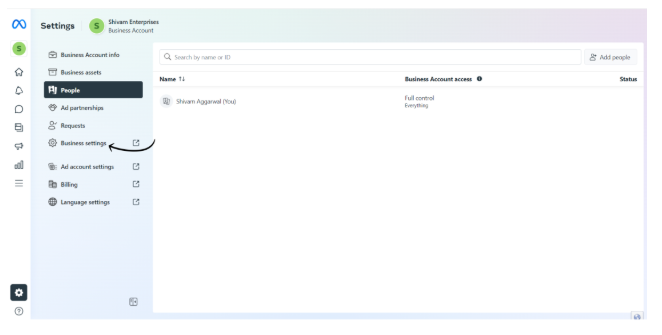
7. Go to Business Settings
Your Facebook Business Manager account has been created successfully. 🎉
You can now go to Business settings & start the process to get your Facebook Business Manager Verified.